Jinja Template - Now UI Dashboard | AppSeed
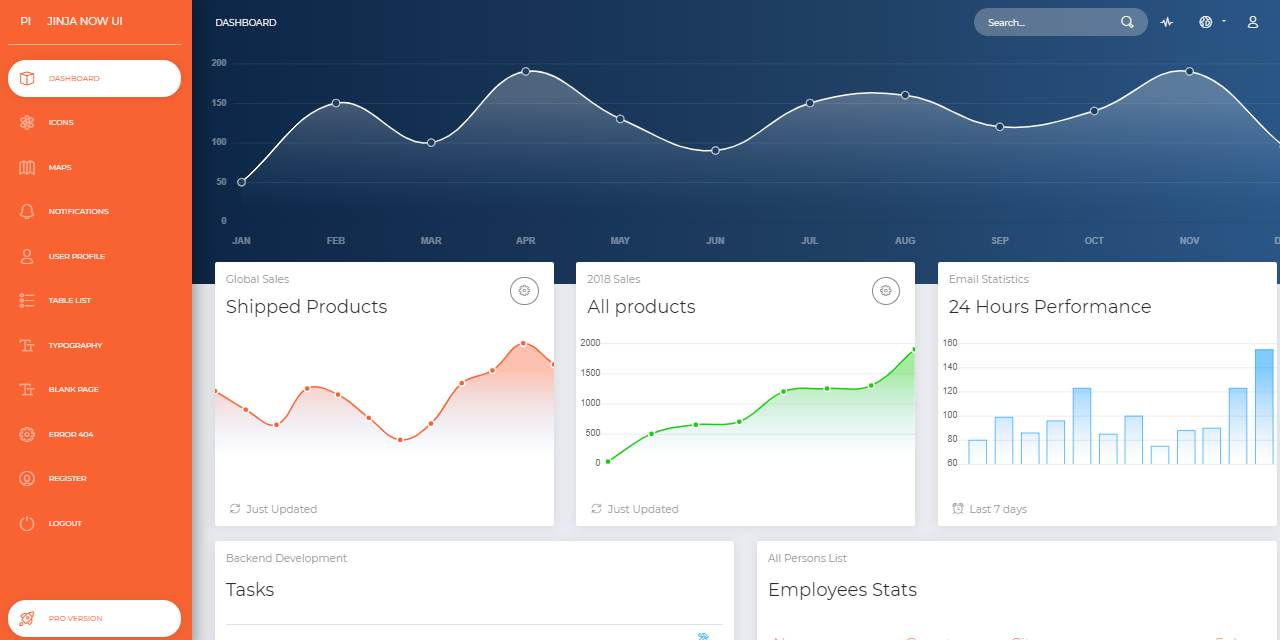
Jinja Template project generated by AppSeed on top of a Now UI Dashboard design (free version). The project is a super simple Flask project WITHOUT database, ORM, or any other hard dependency. The project can be used as a codebase for future project or to migrate the Jinja files and assets to a legacy Python-based project that uses Jinja as template engine (Flask, Bottle, Django).
Features:
Links
$ # Clone the sources$ git clone https://github.com/app-generator/jinja-now-ui-dashboard.git$ cd jinja-now-ui-dashboard$$ # Virtualenv modules installation (Unix based systems)$ virtualenv env$ source env/bin/activate$$ # Virtualenv modules installation (Windows based systems)$ # virtualenv env$ # .\env\Scripts\activate$$ # Install requirements$ pip3 install -r requirements.txt$$ # Set the FLASK_APP environment variable$ (Unix/Mac) export FLASK_APP=run.py$ (Windows) set FLASK_APP=run.py$ (Powershell) $env:FLASK_APP = ".\run.py"$$ # Set up the DEBUG environment$ # (Unix/Mac) export FLASK_ENV=development$ # (Windows) set FLASK_ENV=development$ # (Powershell) $env:FLASK_ENV = "development"$$ # Run the Jinja Template$ # --host=0.0.0.0 - expose the app on all network interfaces (default 127.0.0.1)$ # --port=5000 - specify the app port (default 5000)$ flask run --host=0.0.0.0 --port=5000$$ # Access the UI in browser: http://127.0.0.1:5000/
The project has a simple structure, represented as bellow:
< PROJECT ROOT >||-- app/__init__.py|-- app/| |-- static/| | |-- <css, JS, images> # CSS files, Javascripts files| || |-- templates/| | || | |-- includes/ # Page chunks, components| | | || | | |-- navigation.html # Top bar| | | |-- sidebar.html # Left sidebar| | | |-- scripts.html # JS scripts common to all pages| | | |-- footer.html # The common footer| | || | |-- layouts/ # App Layouts (the master pages)| | | || | | |-- base.html # Used by common pages like index, UI| | | |-- base-fullscreen.html # Used by auth pages (login, register)| | || | index.html # The default page| | login.html # Auth Login Page| | register.html # Auth Registration Page| | page-404.html # Error 404 page (page not found)| | page-500.html # Error 500 page (server error)| | *.html # All other pages provided by the UI Kit||-- requirements.txt||-- run.py||-- ************************************************************************
The project comes with a basic configuration for Docker, Gunicorn, and Waitress.
The steps to start the template using Docker:
Get the code
$ git clone https://github.com/app-generator/jinja-now-ui-dashboard.git$ cd jinja-now-ui-dashboard
Start the app in Docker
$ sudo docker-compose pull && sudo docker-compose build && sudo docker-compose up -d
Visit http://localhost:5005 in your browser. The app should be up & running.
Gunicorn ‘Green Unicorn’ is a Python WSGI HTTP Server for UNIX.
Install using pip
$ pip install gunicorn
Start the app using gunicorn binary
$ gunicorn --bind 0.0.0.0:8001 run:appServing on http://localhost:8001
Visit http://localhost:8001 in your browser. The app should be up & running.
Waitress (Gunicorn equivalent for Windows) is meant to be a production-quality pure-Python WSGI server with very acceptable performance. It has no dependencies except ones that live in the Python standard library.
Install using pip
$ pip install waitress
Start the app using waitress-serve
$ waitress-serve --port=8001 run:appServing on http://localhost:8001
Visit http://localhost:8001 in your browser. The app should be up & running.
Jinja Now UI Dashboard - Provided by AppSeed App Generator.