Image augmentation library
![]()
IDA LIB (Image Data Augmentation Library) is a Python library to optimize the task of Image Data Augmentation. This tool allows you to convert your input data into a larger and more diverse one in an efficient, fast and easy way.
The library is optimized to perform operations in the most efficient way possible, thus reducing the overload on other processes (such as the training process of a neural network). In addition, it allows the joint transformation of different types and combinations of data types in a flexible and correct way, including the processing of:
You can see the whole project documentation here:
https://ida-lib.readthedocs.io/en/latest/index.html
To use IdaLib in your projects you just need to install it:
You can use pip to install Ida-Lib
pip install ida-lib
If you want to get the latest version of the code before it is released on PyPI you can install the library from GitHub:
pip install -U git+https://github.com/raquelvilas18/ida_lib
The central object of ida lib is its pipeline. To use it, just decide which PipelineOperations we want it to include. All other parameters are optional.
example_pipipeline = Pipeline(pipeline_operations=(ScalePipeline(probability=0.5, scale_factor=0.5),ShearPipeline(probability=0.3, shear=(0.2, 0.2)),TranslatePipeline(probability=0.4, translation=(10,50)),HflipPipeline(probability=0.6, exchange_points=[(0, 5), (1, 6)]),RandomRotatePipeline(probability=0.4, degrees_range=(-20, 20))))
The pipelineOperations can be divided into 2 groups:
RotatePipeline(degrees=20) ). In transformations you can see what each one of them doesOnce you have defined your pipeline, you can pass through it your batch data to be transformed. Remember that the entry for the pipeline must be composed of dictionary type data. For each element to be treated correctly it must be associated with its type (images with ‘image1’, ‘image2’…; masks with ‘mask1’, ‘mask67’…):
data1 = {'image': img1, 'keypoints': random_coordinates, 'mask': mask_example1}data2 = {'image': img2, 'keypoints2': random_coordinates2, 'mask': mask_example2}data3 = {'image': img3, 'keypoints3': random_coordinates3, 'mask': mask_example3}batch = [data1, data2, data3]
Finally we run the pipeline as many times as necessary:
transformed_batch = example_pipipeline(batch)
The transformations included in the library are:
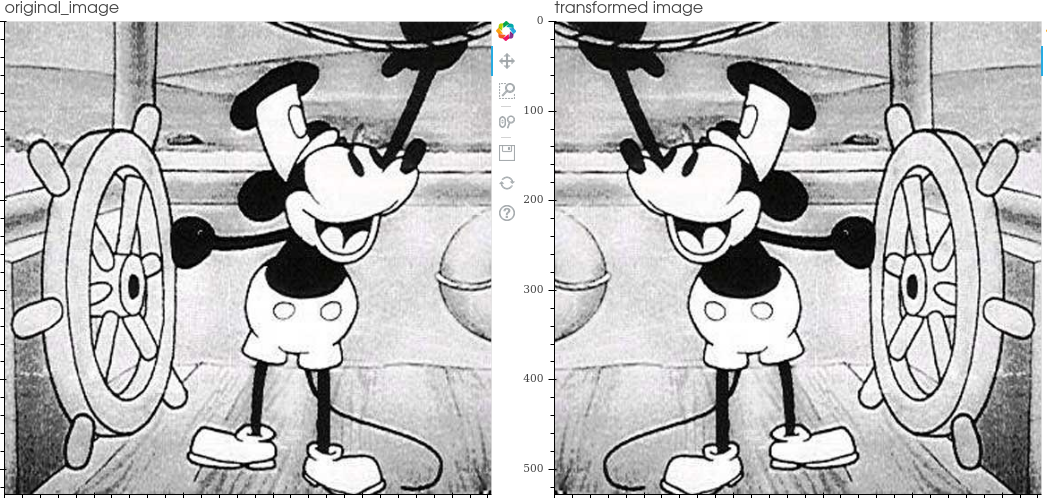

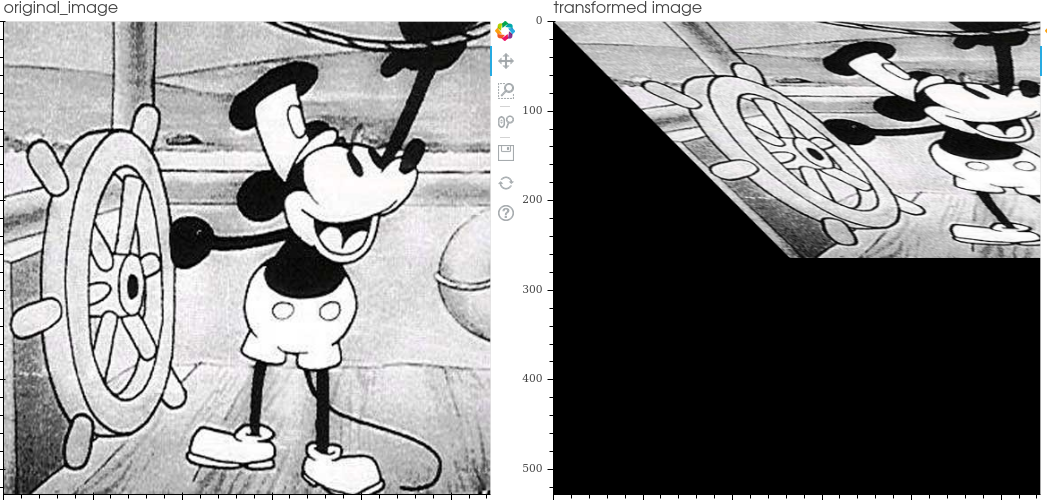
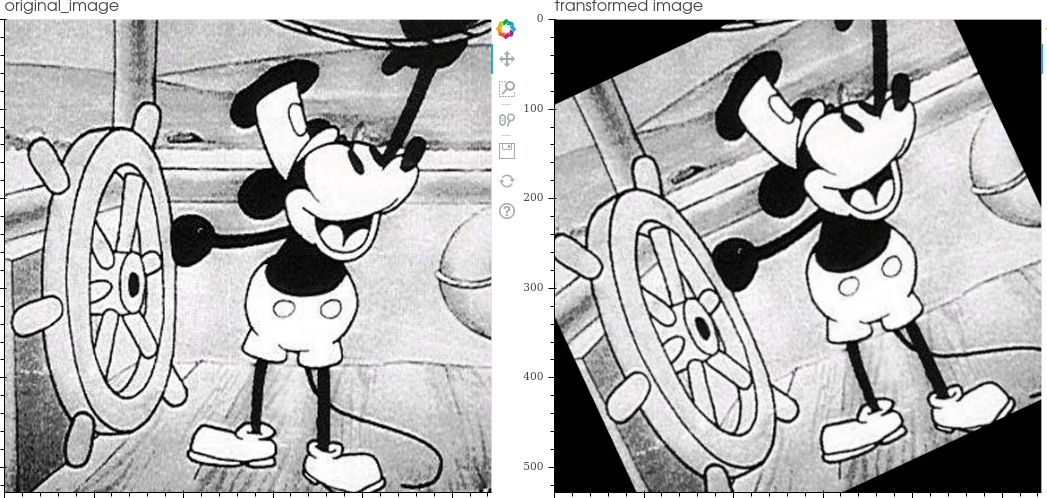
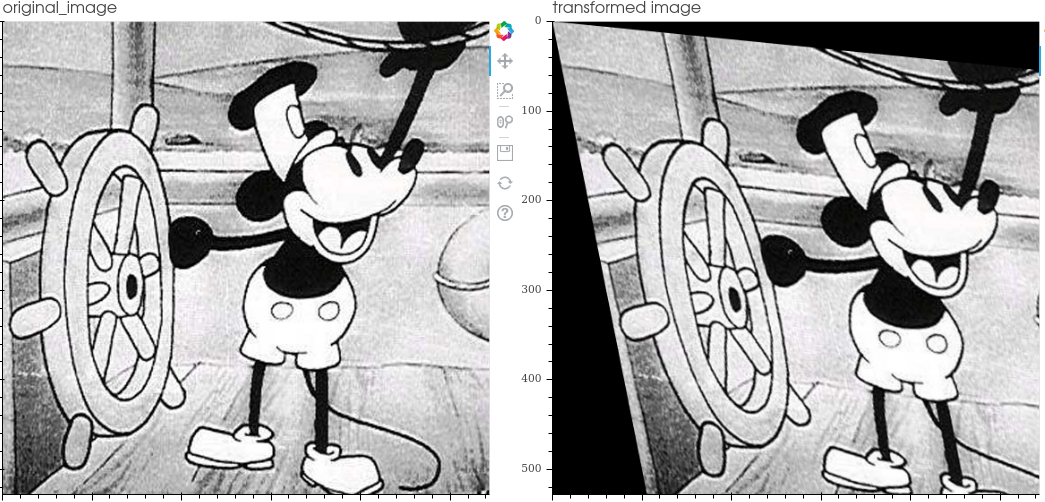
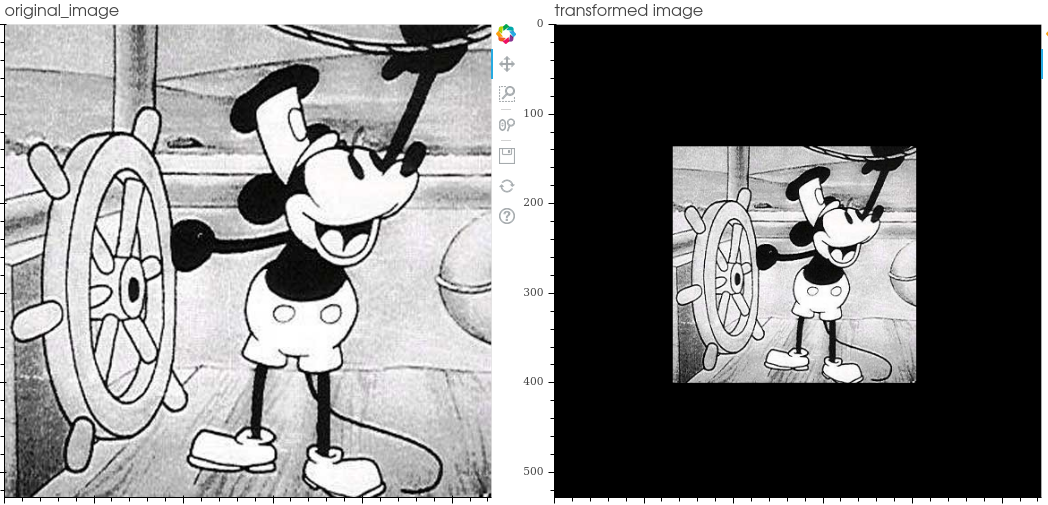
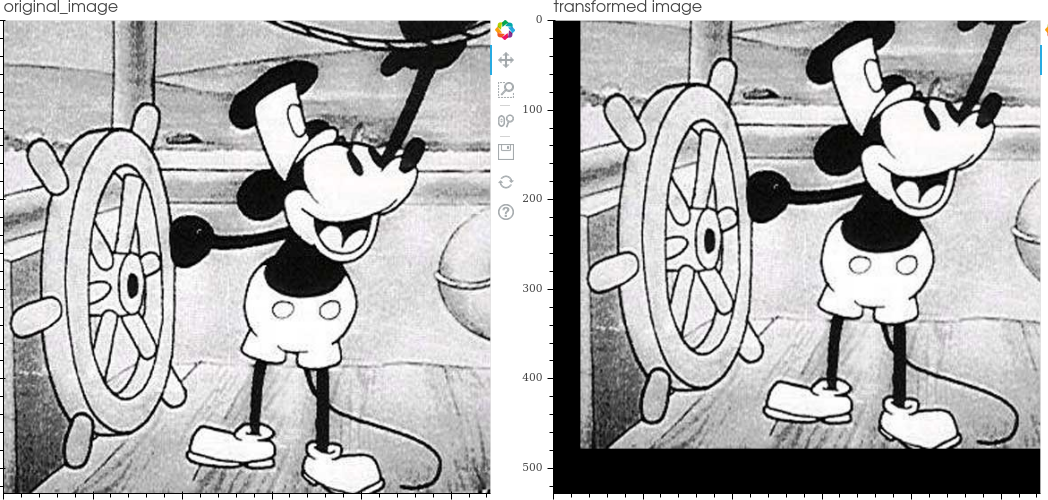
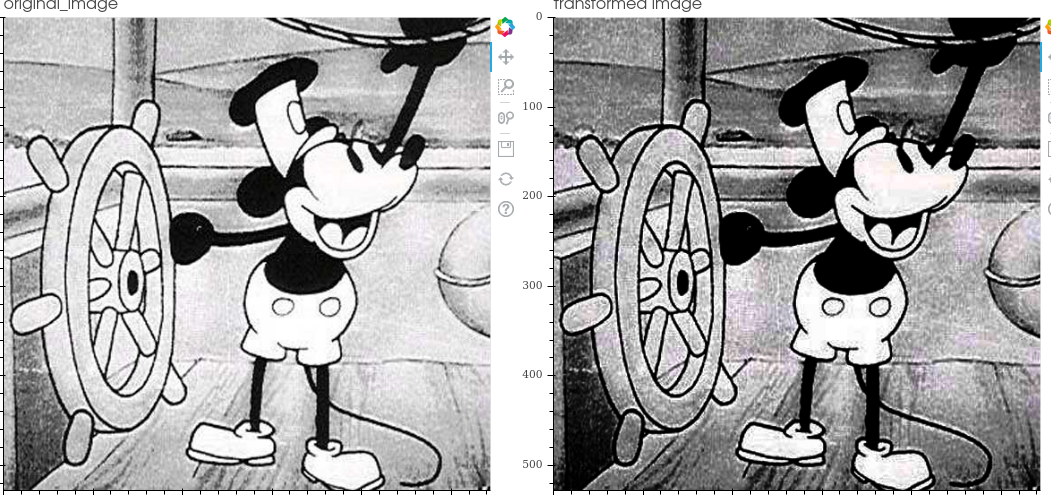
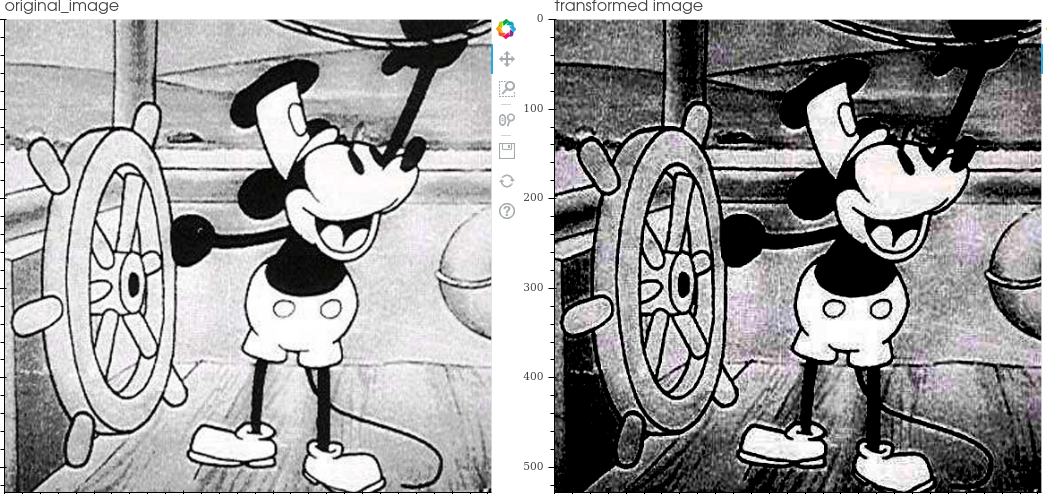

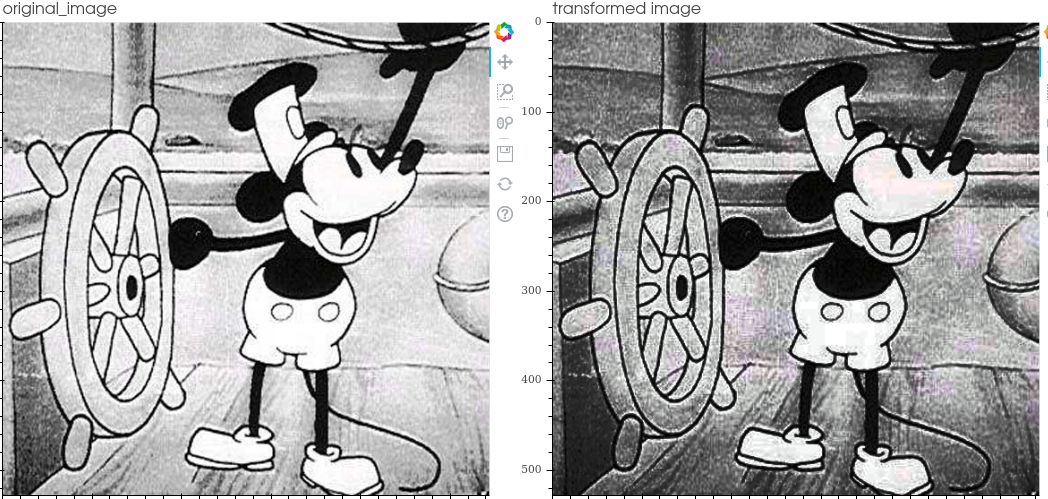
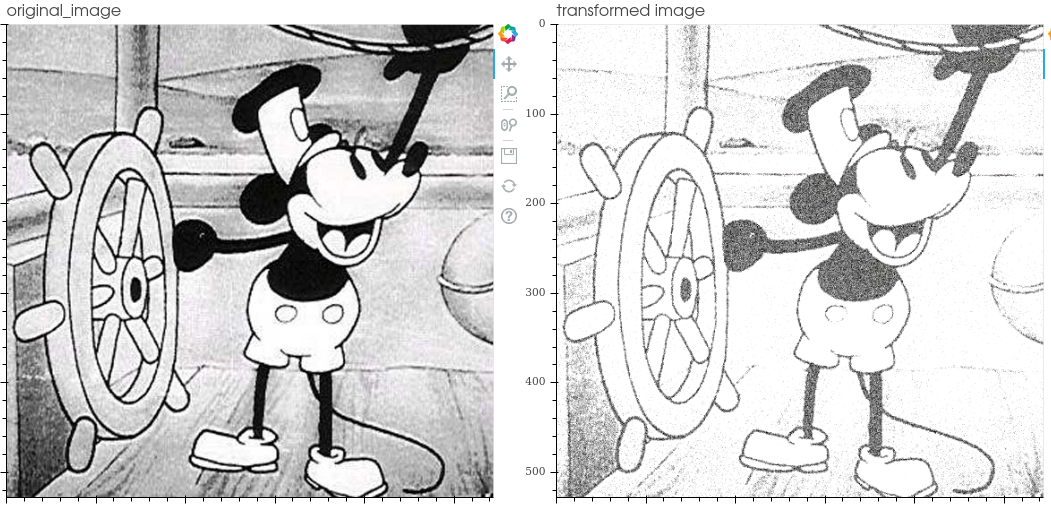
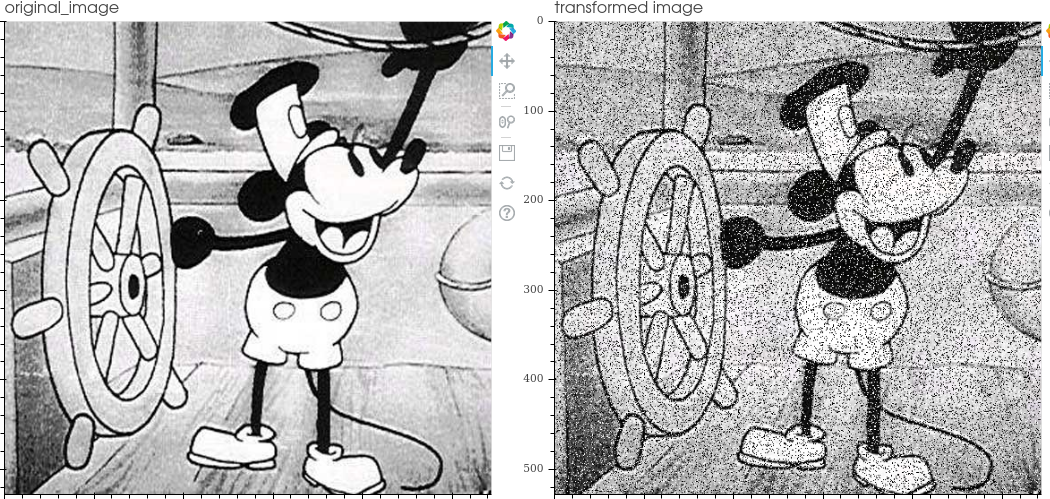
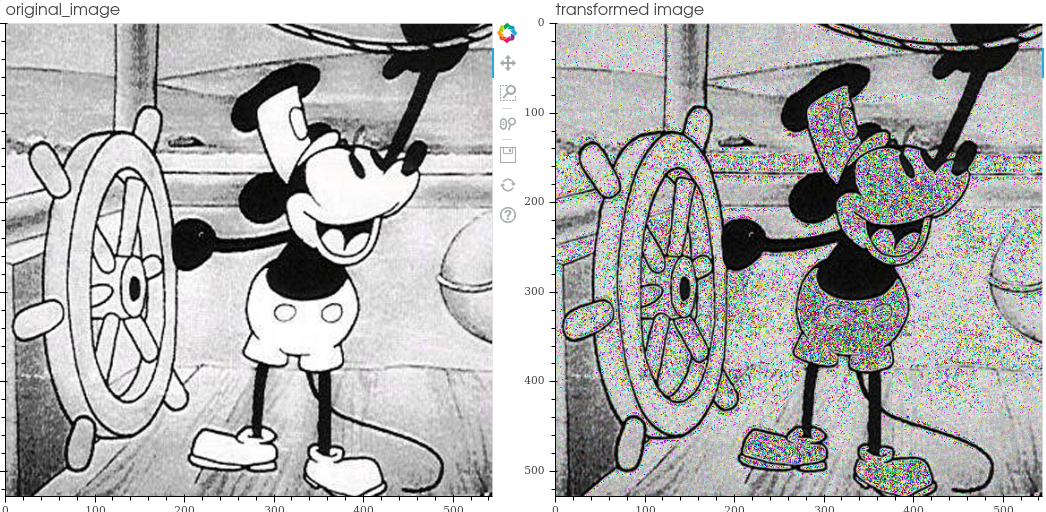
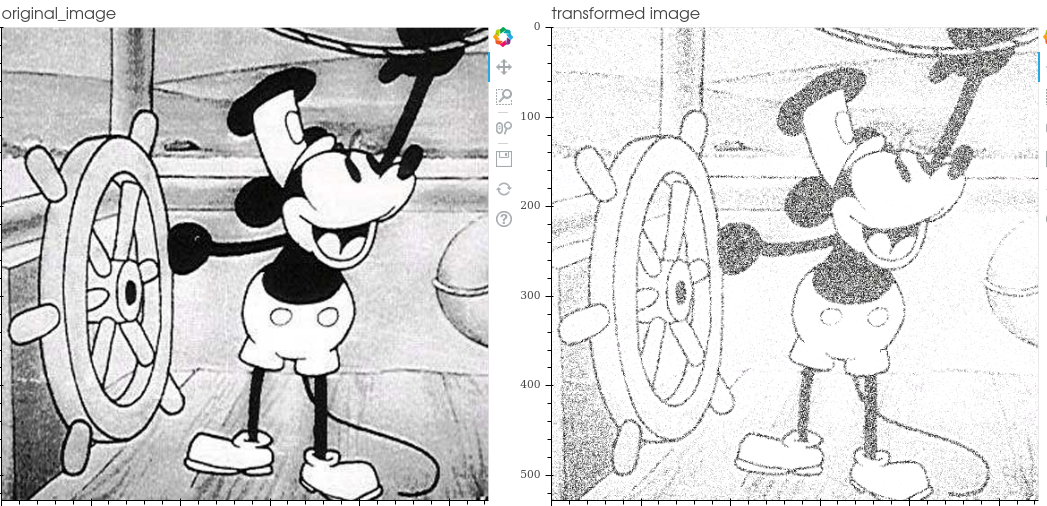
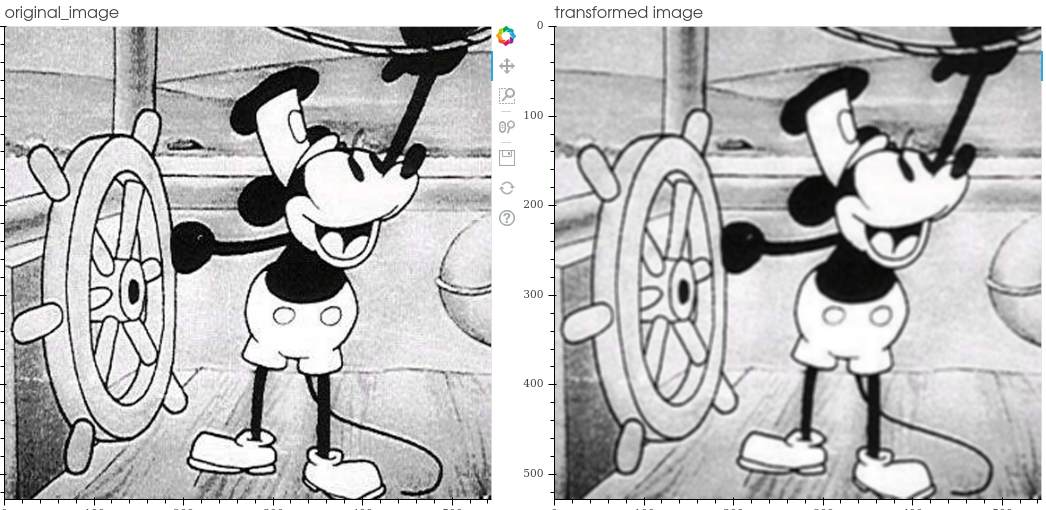

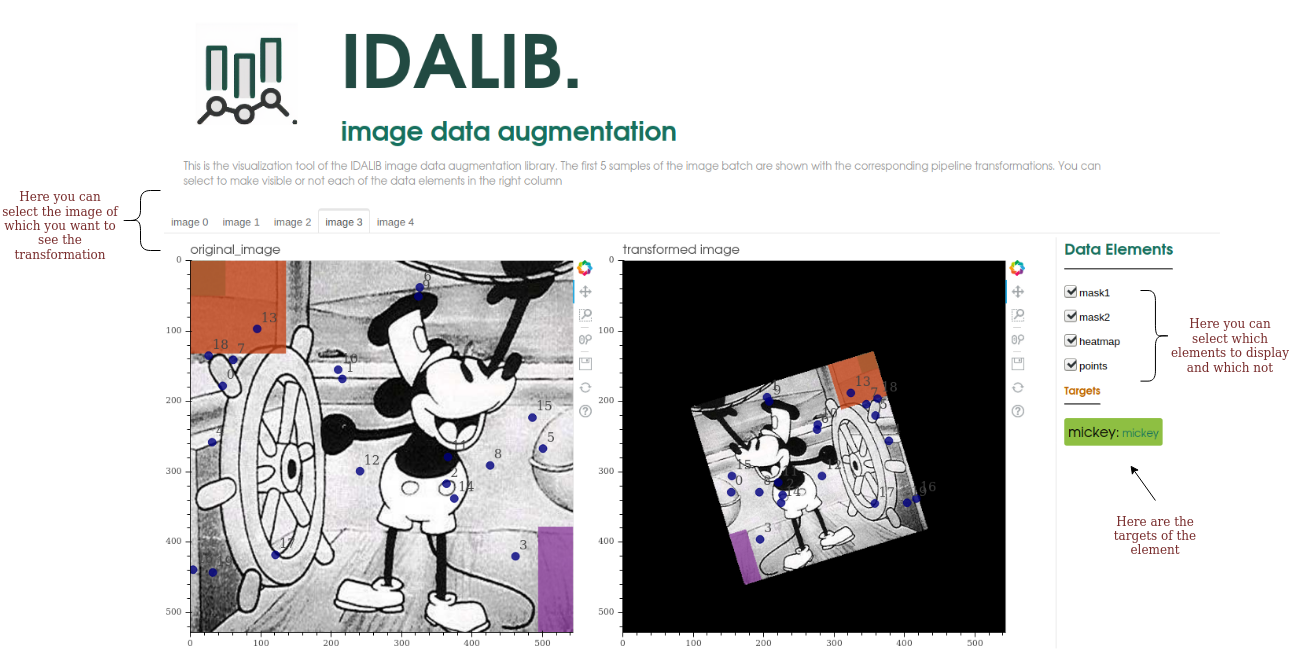
Ida Lib includes a tool to visualize the transformations to facilitate code debugging.
It is an interactive tool developed with the bokeh framework and allows the selection of the data to be displayed in the image.
IDALib includes an object to perform Image Data Augmentation directly on your dataset and feed your neural network.
It is a Dataloader object like the one in Pycharm but it accepts as an argument the operations of IDALib
To use it, you can use an standard dataset or you can define your custom dataset:
from torch.utils.data import Datasetclass custom_dataset(Dataset):def __init__(self, csv_file, root_dir):... # custom initdef __len__(self):... # custom lendef __getitem__(self, idx):... #custom getitemdataset = custom_dataset(*params)
And you can already define your DataLoader that implements IDALib’s efficient Image data augmentation, selecting the desired batchsize, wheter to shufle the data or not, and the pipeline operations
dataloader = AugmentDataLoader(dataset=custom_dataset,batch_size=4,shuffle=True,pipeline_operations=(TranslatePipeline(probability=1, translation=(30, 10)),VflipPipeline(probability=0.5),ContrastPipeline(probability=0.5, contrast_factor=1),RandomShearPipeline(probability=0.5, shear_range=(0, 0.5))),)
If you really don’t want to implement in volatile memory the increased dataset, and you prefer to save it to be able to use it independently from the library you can use the AugmentToDisk.
The way to use it is almost identical to the dataloader. You need a dataset as for the dataloader and define the Pipeline operations you want. Finally, you have to indicate how many elements you want to generate for each input element (samples_per_item), for example, with a value of 5, a dataset is generated 5 times bigger:
augmentor = AugmentToDisk(dataset=face_dataset, # custom dataset that provides the input datasamples_per_item=5, # number of samples per imput itemoperations=(RandomScalePipeline(probability=0.6, scale_range=(0.8, 1.2), center_deviation=20),HflipPipeline(probability=0.5),RandomContrastPipeline(probability=0.5, contrast_range=(1, 1.5))),output_csv_path='anotations.csv',output_path='./augmented_custom')
You can select other types of parameters that take default values, such as the interpolation mode, the format of the output elements (jpg, png…), the output directory or the csv in which to store metadata such as the coordinates of associated points. Finally you just have to run it and your increased dataset will be stored on disk.
augmentor() # Run the augmentation
You can customize the format and way your data is saved by overwriting the save_item and final_save methods if you want specific folder or standard structures.
class custom_augmentToDisk(AugmentToDisk):def save_item(self, item: dict, index: int, output_path: str, types_2d: list, other_types: list, element: int):#custom code to save each augmented itemdef final_save(self):# custom code to execute once at the end and save files as csv with the metadata of all items
To more information see the documentation of AugmentToDisk class:
https://ida-lib.readthedocs.io/en/latest/ida_lib.image_augmentation.html#module-ida_lib.image_augmentation.augment_to_disk