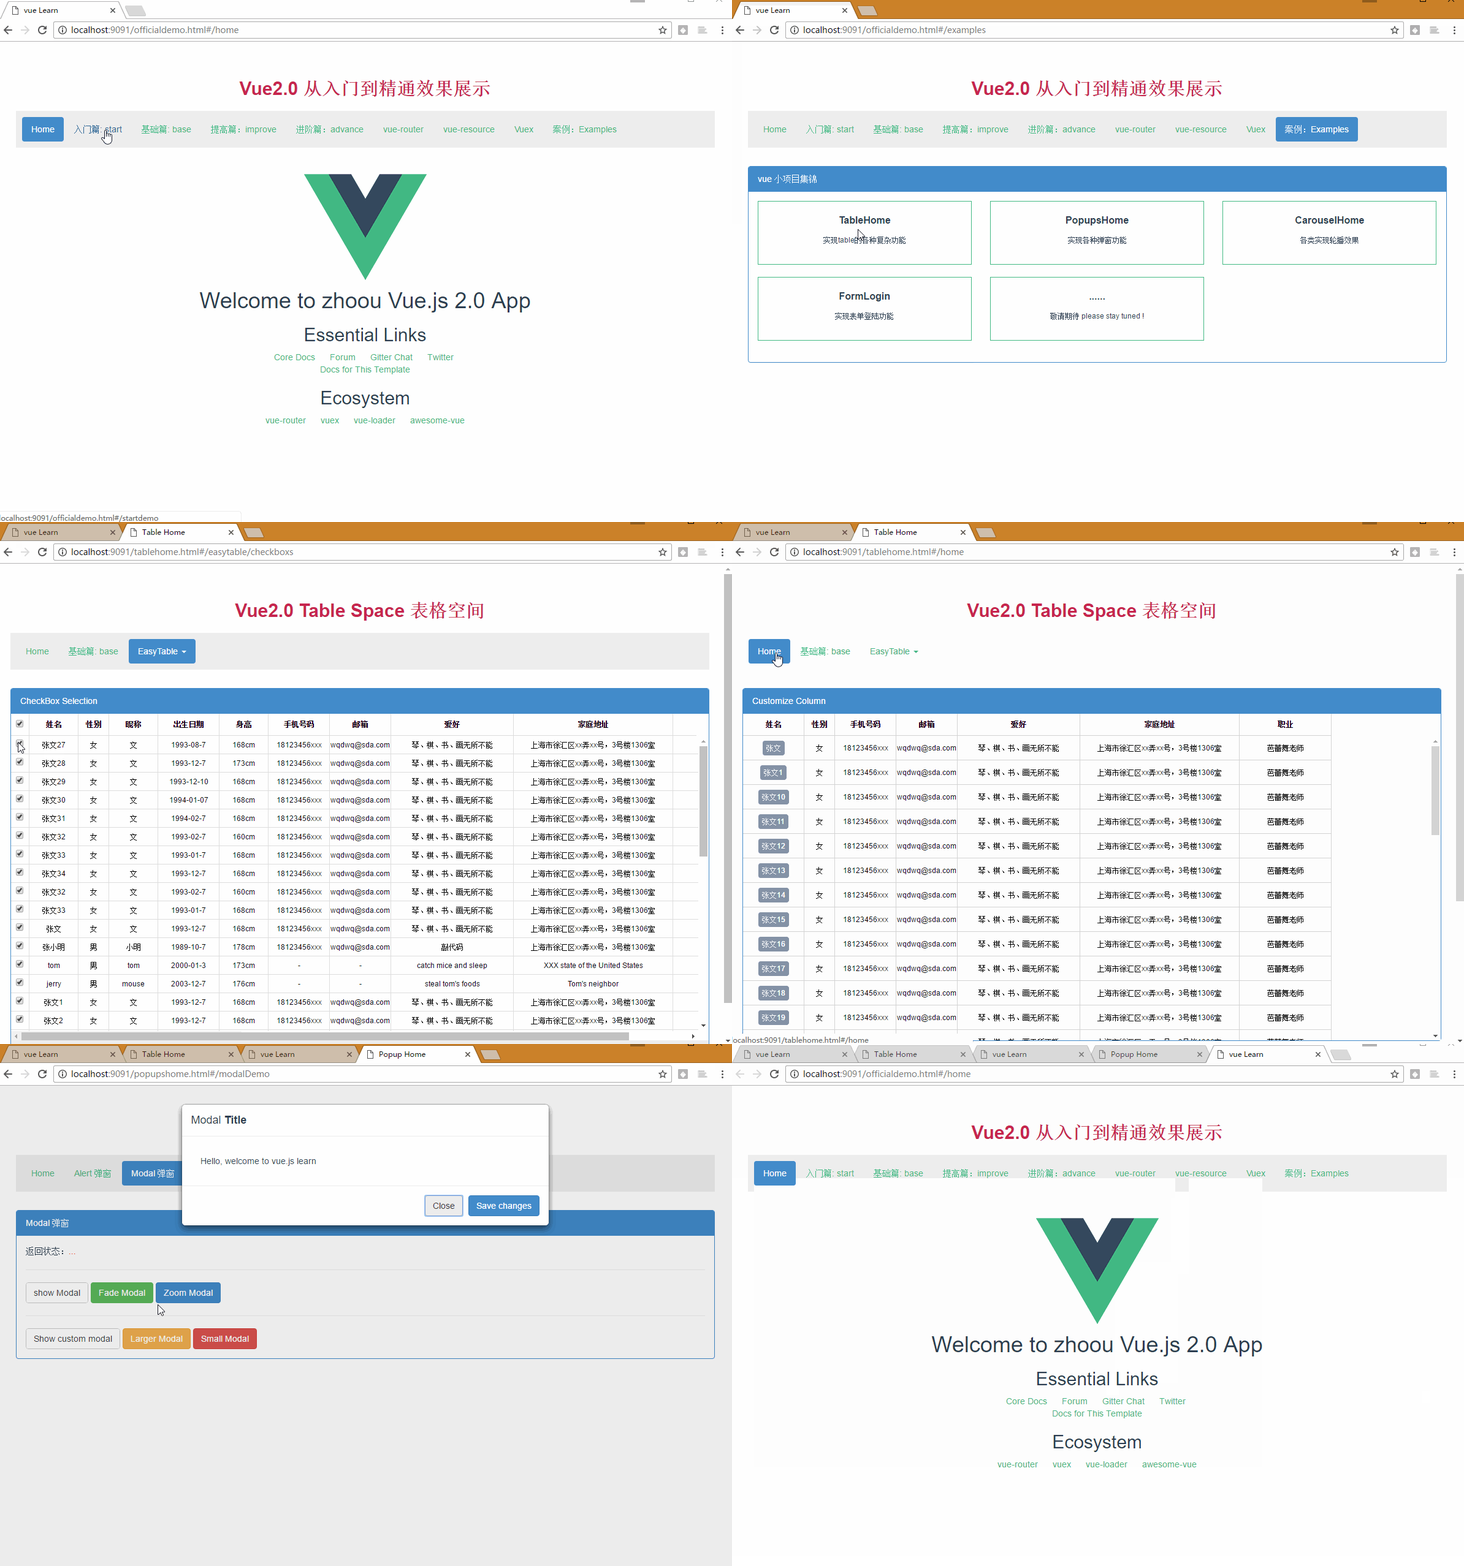
vue-cli-multipage-bootstrap demo with vue2+vue-router+vuex+bootstrap+markdown for learning vue2.0
A Vue.js2.0 project with Bootstrap which integrated the vue official online examples to components and some components build by myself to anyone who interested in .


npm install
npm run dev
you can click the nav ‘案例:Examples’ and choice ‘TableHome’ to jump to another project ‘tablehome.html’.
npm install
npm run build
Please take the published content to the local server IIS or on another server you like ,
and then the initial access path :(serverIP)/officialdemo.html
# 安装vue-clinpm install -g vue-cli# 使用vue-cli初始化项目vue init webpack my-project# 进入到目录cd my-project# install dependenciesnpm install# serve with hot reload at localhost:8080npm run dev# build for production with minificationnpm run build# run unit testsnpm run unit# run e2e testsnpm run e2e# run all testsnpm test
其中入口entry修改成如下:
var entries = getEntry('./src/module/*/*.js'); // 获得入口js文件function getEntry(globPath) {var entries = {},basename, tmp, pathname;glob.sync(globPath).forEach(function (entry) {basename = path.basename(entry, path.extname(entry));tmp = entry.split('/').splice(-3);pathname = tmp.splice(1, 1).toString().toLowerCase(); // 正确输出js和html的路径entries[pathname] = entry;});return entries;}
entry: Object.assign(entries,{vendors : ['jquery', 'bootstrap']})
function getEntry(globPath) {var entries = {},basename, tmp, pathname;glob.sync(globPath).forEach(function (entry) {basename = path.basename(entry, path.extname(entry));tmp = entry.split('/').splice(-3);pathname = tmp.splice(1, 1).toString().toLowerCase();entries[pathname] = entry;});return entries;}var pages = getEntry('./src/module/**/*.html');for (var pathname in pages) {// 配置生成的html文件,定义路径等var conf = {filename: pathname + '.html',template: pages[pathname], // 模板路径inject: true // js插入位置};// 需要生成几个html文件,就配置几个HtmlWebpackPlugin对象module.exports.plugins.push(new HtmlWebpackPlugin(conf));}
function getEntry(globPath) {var entries = {},basename, tmp, pathname;glob.sync(globPath).forEach(function (entry) {basename = path.basename(entry, path.extname(entry));tmp = entry.split('/').splice(-3);pathname = tmp.splice(1, 1).toString().toLowerCase();entries[pathname] = entry;});return entries;}var pages = getEntry('./src/module/*/*.html');for (var pathname in pages) {// 配置生成的html文件,定义路径等var conf = {filename: pathname + '.html',template: pages[pathname], // 模板路径inject: true, // js插入位置minify: {removeComments: true,collapseWhitespace: true,removeAttributeQuotes: true// more options:// https://github.com/kangax/html-minifier#options-quick-reference},// necessary to consistently work with multiple chunks via CommonsChunkPluginchunksSortMode: 'dependency'};// 需要生成几个html文件,就配置几个HtmlWebpackPlugin对象webpackConfig.plugins.push(new HtmlWebpackPlugin(conf));}
详见:build\webpack.markdown.js
主要使用的插件:markdown-it
Welcome guidance !!