Jinja Template - Datta Able Dark PRO | AppSeed
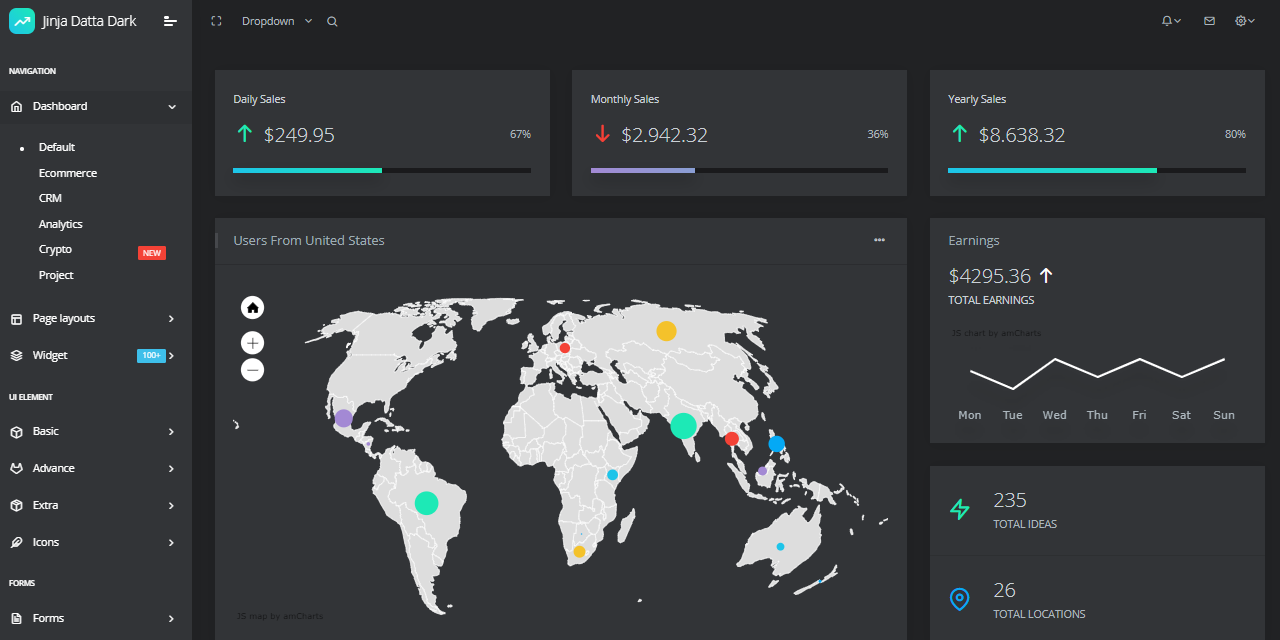
Jinja Template starter generated by the AppSeed platform on top of Datta Able Dark PRO Design. The codebase is basically a simple Flask starter without a database or hard dependencies. The template can be used for UI integration into legacy Python-based products.
Jinja Template Features
Links
Datta Able is the most stylish Bootstrap 4 Admin Template compare to all other Bootstrap admin templates. It comes with high feature-rich pages and components with fully developer-centric code. Before developing Datta Able our key points were performance and design. While developing we have gone through various testing and code optimization process, for making this performance and design-centric backend application.
With Datta Able Dashboard Template we have provided all possible prebuilt admin template layouts. Which gives you the best selection choice of your backend template need for your projects. Comes with error/bug-free, well structured, well-commented code and regularly with all latest updated code. Which saves your large amount of developing backend application time and it is fully customizable.
$ # Clone the sources$ git clone https://github.com/app-generator/priv-jinja-datta-able-dark-pro.git$ cd priv-jinja-datta-able-dark-pro$$ # Virtualenv modules installation (Unix based systems)$ virtualenv env$ source env/bin/activate$$ # Virtualenv modules installation (Windows based systems)$ # virtualenv env$ # .\env\Scripts\activate$$ # Install requirements$ pip3 install -r requirements.txt$$ # Set the FLASK_APP environment variable$ (Unix/Mac) export FLASK_APP=run.py$ (Windows) set FLASK_APP=run.py$ (Powershell) $env:FLASK_APP = ".\run.py"$$ # Set up the DEBUG environment$ # (Unix/Mac) export FLASK_ENV=development$ # (Windows) set FLASK_ENV=development$ # (Powershell) $env:FLASK_ENV = "development"$$ # Run the Jinja Template$ # --host=0.0.0.0 - expose the app on all network interfaces (default 127.0.0.1)$ # --port=5000 - specify the app port (default 5000)$ flask run --host=0.0.0.0 --port=5000$$ # Access the UI in browser: http://127.0.0.1:5000/
The project has a simple structure, represented as bellow:
< PROJECT ROOT >||-- app/__init__.py|-- app/| |-- static/| | |-- <css, JS, images> # CSS files, Javascripts files| || |-- templates/| | || | |-- includes/ # Page chunks, components| | | || | | |-- navigation.html # Top bar| | | |-- sidebar.html # Left sidebar| | | |-- scripts.html # JS scripts common to all pages| | | |-- footer.html # The common footer| | || | |-- layouts/ # App Layouts (the master pages)| | | || | | |-- base.html # Used by common pages like index, UI| | | |-- base-fullscreen.html # Used by auth pages (login, register)| | || | index.html # The default page| | login.html # Auth Login Page| | register.html # Auth Registration Page| | page-404.html # Error 404 page (page not found)| | page-500.html # Error 500 page (server error)| | *.html # All other pages provided by the UI Kit||-- requirements.txt||-- run.py||-- ************************************************************************
The project comes with a basic configuration for Docker, HEROKU, Gunicorn, and Waitress.
The steps to start the template using Docker:
Get the code
$ git clone https://github.com/app-generator/priv-jinja-datta-able-dark-pro.git$ cd priv-jinja-datta-able-dark-pro
Start the app in Docker
$ sudo docker-compose pull && sudo docker-compose build && sudo docker-compose up -d
Visit http://localhost:5005 in your browser. The app should be up & running.
Steps to deploy on Heroku
heroku login command
$ # Clone the source code:$ git clone https://github.com/app-generator/priv-jinja-datta-able-dark-pro.git$ cd priv-jinja-datta-able-dark-pro$$ # Check Heroku CLI is installed$ heroku -vheroku/7.25.0 win32-x64 node-v12.13.0 # <-- All good$$ # Check Heroku CLI is installed$ heroku login$ # this commaond will open a browser window - click the login button (in browser)$$ # Create the Heroku project$ heroku create$$ # Trigger the LIVE deploy$ git push heroku master$$ # Open the LIVE app in browser$ heroku open
Gunicorn ‘Green Unicorn’ is a Python WSGI HTTP Server for UNIX.
Install using pip
$ pip install gunicorn
Start the app using gunicorn binary
$ gunicorn --bind 0.0.0.0:8001 run:appServing on http://localhost:8001
Visit http://localhost:8001 in your browser. The app should be up & running.
Waitress (Gunicorn equivalent for Windows) is meant to be a production-quality pure-Python WSGI server with very acceptable performance. It has no dependencies except ones that live in the Python standard library.
Install using pip
$ pip install waitress
Start the app using waitress-serve
$ waitress-serve --port=8001 run:appServing on http://localhost:8001
Visit http://localhost:8001 in your browser. The app should be up & running.
Jinja Template Datta Able Dark PRO - Provided by AppSeed Web App Generator.